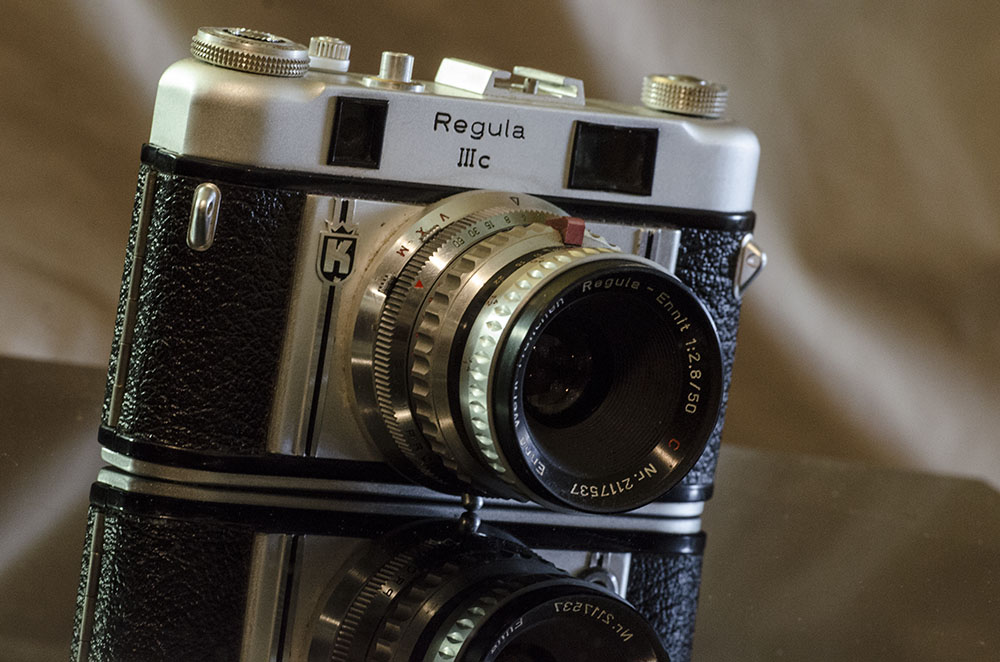
This King Regula IIIc seems to be a rare model, made in Germany this model was made for the export market. I found this camera in the back room of a local Thrift store for $3. A sticky shutter was the reason, otherwise it is in great shape.
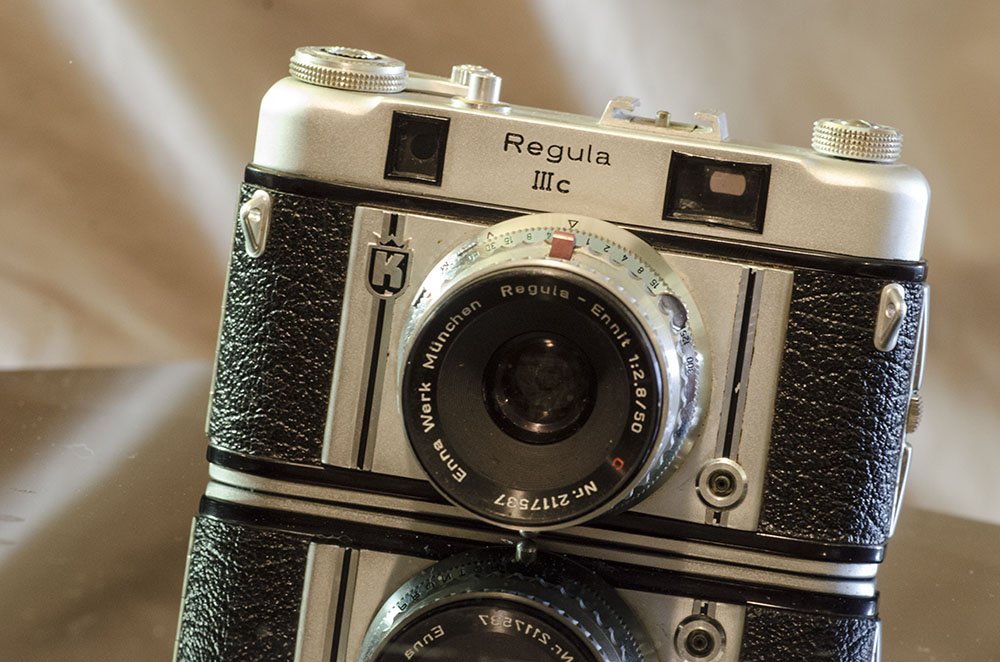
The King Regula IIIc 35mm cameras were made between 1955-56 by Mr and Mrs King, it was a family business that also produced electrical components in Bad Leibenzell in the Black Forest area of West Germany. They also produced cameras for a number of other companies.
The Regula IIIc was one of many versions, a,b,c,d automatic, Cita III, RM and R.
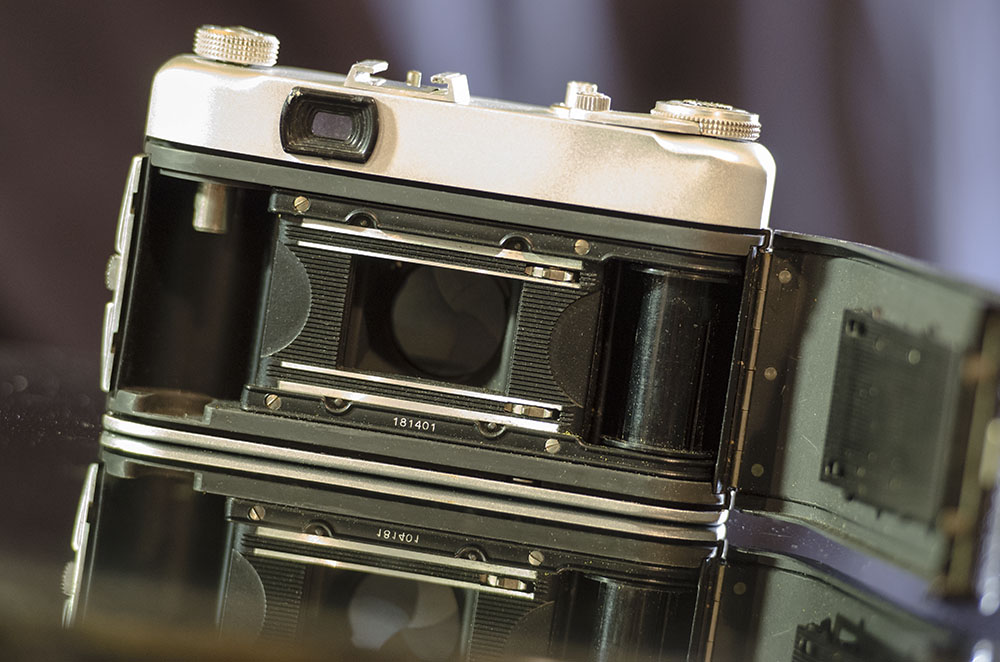
They were made of metal with plastic pieces around the windows and film take up. They are covered by a glued on leatherette. It weighs in at about 1 1/2 pounds (690 grams).
They were made of metal with plastic pieces around the windows and film take up. They are covered by a glued on leatherette. It weighs in at about 1 1/2 pounds (690 grams).
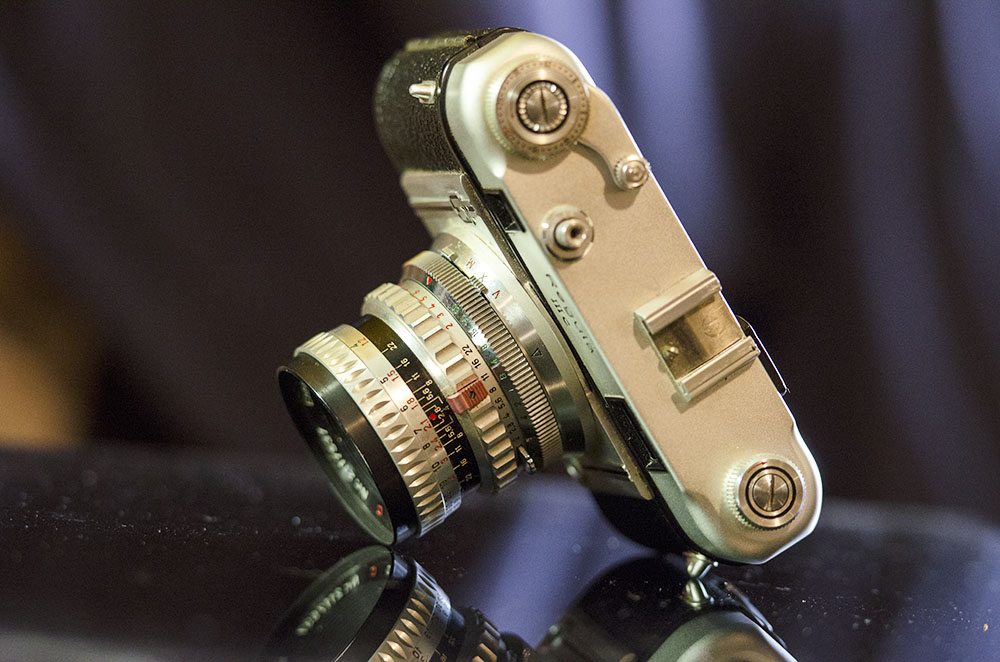
The Regula IIIc is an interchangeable lens rangefinder camera that uses a bayonet mount that was unique to the King manufacturer. Lenses available were 28mm, 35mm, 50mm, 90mm and 135mm, they used a 45mm filter. This IIIc has a 50mm f/2.8 made by Enna Wark Munchen a small German optics manufacturer. It's focus range is 1m to infinity.
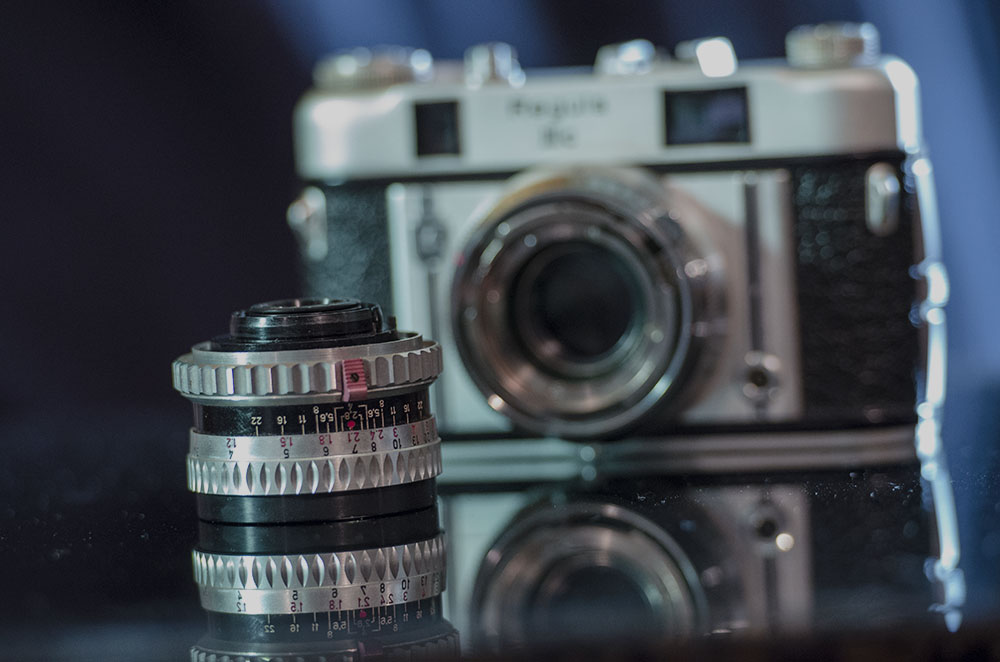
Apertures range from f/2 to f/22. A self timer, V is around 10 secs . A PC socket syncs at all speeds in X and M modes.
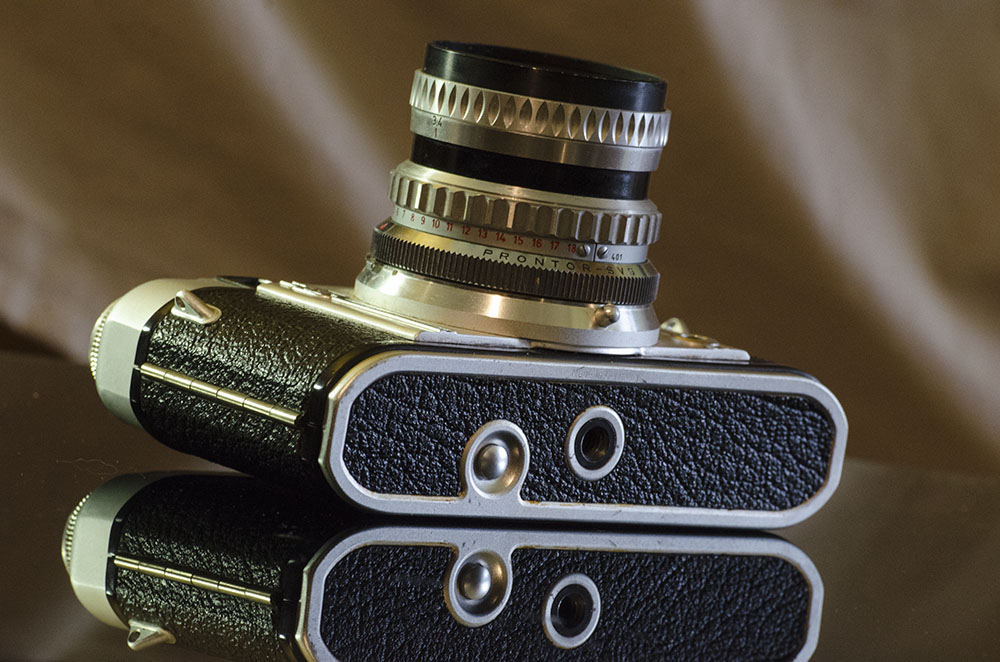
The shutter is a Prontor SVS with Bulb, 1s, 1/2, 1/4, 1/8, 1/15, 1/30, 1/60, 1/125 and 1/300th sec, it used two sets of blades for robustness. As it turns out the cameras now seem to have a shutter sticking problem. It is not too hard to clean the shutter assembly to make it work a little better.
This model does not have a light meter like the newer model IIId but the rangefinder on this model was the most accurate of the models because not having a light meter gave more room for a long-base coupled rangefinder.
A good find for a display camera.
A good find for a display camera.


 RSS Feed